Phone:
(701)814-6992
Physical address:
6296 Donnelly Plaza
Ratkeville, Bahamas.
Phone:
(701)814-6992
Physical address:
6296 Donnelly Plaza
Ratkeville, Bahamas.
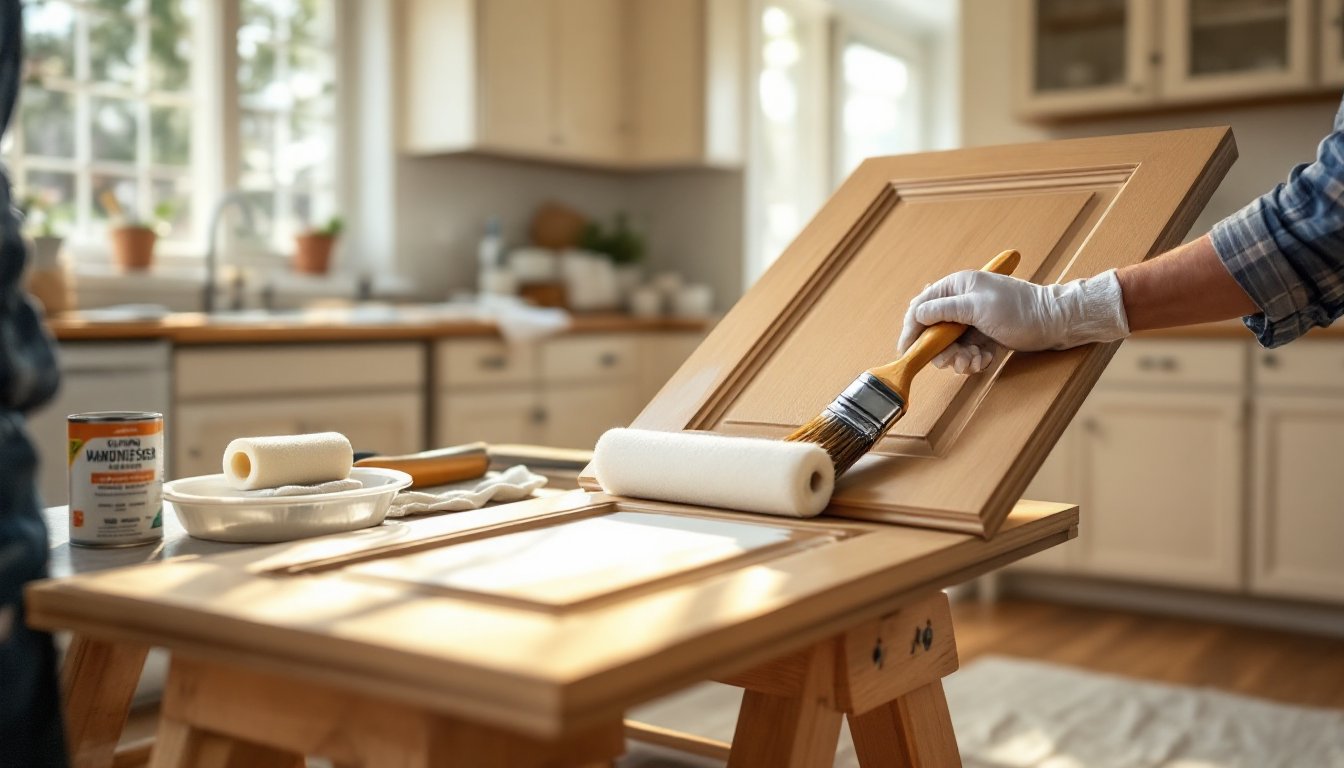
Painting kitchen cabinets transforms a tired kitchen without the budget-busting cost of replacement. But the traditional route, hours of sanding every door, drawer, and frame, stops many DIYers before they even start. The good news? Modern deglosers and bonding primers have changed the game. With the right prep and products, anyone can skip the sandpaper and still get a durable, professional-looking finish. This method works especially well on cabinets with factory finishes or previous paint in good condition. It won’t suit every scenario, but when conditions align, it cuts project time nearly in half while delivering results that hold up to daily wear.
Sanding creates mechanical adhesion, tiny scratches that help new paint grip old surfaces. Liquid deglossers (also called liquid sandpaper) work chemically instead, etching the existing finish to create a similar bond without dust or elbow grease.
This approach works best on:
When sanding is still necessary:
Deglosser won’t fix structural problems. If cabinet doors are warped, veneer is lifting, or particleboard is swollen from water exposure, painting over it just delays replacement. Be honest about condition before committing to paint.
Having the right materials upfront prevents mid-project runs to the hardware store.
Cleaning and Prep:
Primer and Paint:
Application Tools:
Safety Gear:
For ventilation, box fans and open windows help, but if painting in winter or working with oil-based products, a respirator rated for organic vapors is non-negotiable.
Prep determines paint longevity. Skip steps here, and the finish fails within months.
1. Remove doors, drawers, and hardware. Number each door and its corresponding hinge location with painter’s tape on the back. Photograph before disassembly if hinge placement isn’t obvious. This saves massive headaches during reinstallation.
2. Clean everything aggressively. Kitchen grease is invisible but deadly to paint adhesion. Mix TSP substitute per label directions (usually 1/4 cup per gallon of warm water). Scrub all surfaces with a sponge, paying extra attention to areas near the stove and handles. Rinse thoroughly with clean water. Let dry completely, at least 2 hours, preferably overnight.
3. Apply deglosser. Work in a ventilated area. Pour deglosser onto a clean, lint-free rag (don’t dip the rag into the container, which contaminates the product). Wipe all surfaces in one direction, using moderate pressure. The finish should look dull and feel slightly rough when dry. Follow product dwell time, most deglossers need 10-15 minutes before priming. Don’t rinse unless the label specifies.
4. Mask off areas. If painting cabinet boxes in place, tape off walls, countertops, and appliances. Remove or cover cabinet interiors if not painting inside (most people don’t).
5. Set up a drying station. Sawhorses with scrap 2x4s across them work perfectly. Space doors so air circulates on all sides. Painting in a garage? Avoid temperature extremes, ideal range is 50-85°F with humidity below 70%.
Deglosser selection matters less than technique. Most liquid sanders use similar solvents (acetone, toluene, or ethyl acetate). The key is applying it evenly and not reusing dirty rags, which just spreads grime around.
Primer is where you shouldn’t compromise. Standard primers won’t bond reliably to slick factory finishes. Look for products labeled “bonding primer” or “high-adhesion primer.”
Top choices:
One coat of bonding primer is usually sufficient if deglosser was applied correctly. If the old finish shows through or looks blotchy, a second coat beats trying to hide it with extra topcoat layers.
Not all paints handle the abuse cabinets take. Doors get slammed, grease splatters, and handles see hundreds of touches per week.
Cabinet-specific paints are formulated to self-level (minimize brush marks) and cure harder than wall paint. Standard interior paint will work short-term but shows wear faster.
Water-Based (Acrylic or Acrylic-Alkyd Hybrid):
Oil-Based (Alkyd):
Sheen matters. Flat and matte show every fingerprint. Satin offers some cleanability but still marks easily. Semi-gloss and gloss are the workhorses for cabinets, they wipe clean and resist moisture. Semi-gloss is the most popular compromise between durability and subtle appearance.
Coverage varies by product, but expect 350-400 square feet per gallon for quality cabinet paint. A typical 10×10 kitchen with 20 cabinet doors needs about 1 gallon of paint plus 1 quart of primer. Always buy extra for touch-ups, custom-tinted colors can’t be perfectly rematched later.
Even premium paint looks bad if applied poorly. Thin, even coats beat one thick coat every time.
Brush vs. Roller vs. Sprayer:
Application order:
Common mistakes:
Dry-to-touch and fully cured are not the same thing. Most cabinet paints feel dry in 1-2 hours but don’t reach full hardness for 7-30 days depending on chemistry.
Water-based paints:
Oil-based paints:
Don’t rush reinstallation. Doors that stick together during cure will bond permanently. Wait at least 48-72 hours before reattaching doors, and handle gently for the first week. Avoid heavy scrubbing or placing objects on shelves until the paint fully hardens.
Temperature and humidity affect cure time. Cold, damp conditions can double it. If possible, run a dehumidifier and keep workspace temperature above 60°F.
Once cured, the finish should withstand normal kitchen use, wiping down with mild cleaners, light impacts, and daily opening and closing, for years. Touch up chips promptly to prevent moisture from getting under the paint film.