Phone:
(701)814-6992
Physical address:
6296 Donnelly Plaza
Ratkeville, Bahamas.
Phone:
(701)814-6992
Physical address:
6296 Donnelly Plaza
Ratkeville, Bahamas.
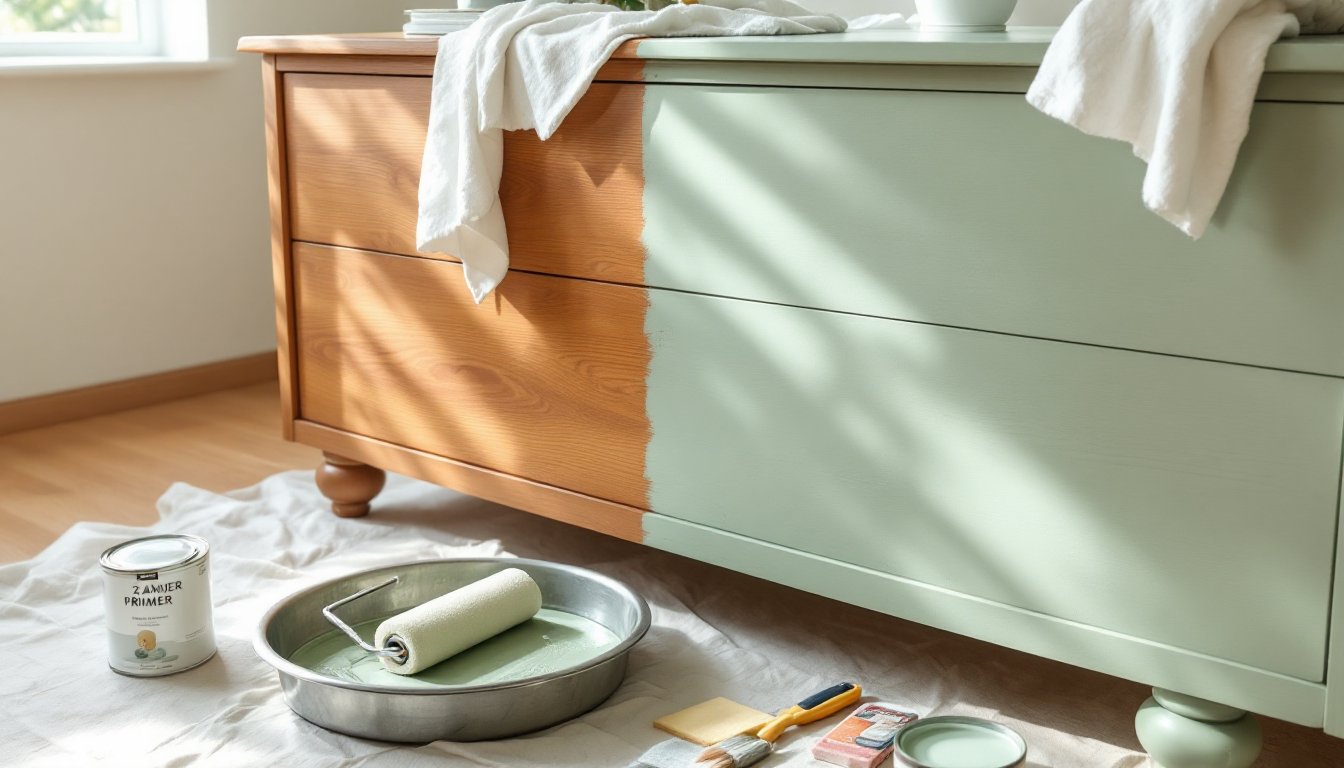
Painting bedroom furniture is one of the fastest, most affordable ways to overhaul a space without replacing everything. A dresser that’s been sitting in the same spot for ten years can look brand new with the right prep work and paint. This project doesn’t require advanced carpentry skills, but it does demand patience, especially during surface preparation. Rush the prep, and the paint won’t stick. Take the time to do it right, and the finish will hold up for years. This guide walks through every step, from selecting the right primer to applying a durable topcoat that won’t chip the first time someone sets down a coffee mug.
Replacing a full bedroom set can easily run into the thousands, even for mid-range furniture. Painting existing pieces costs a fraction of that, typically $50 to $150 depending on paint quality and the number of items being refinished. Beyond the savings, painting allows for complete control over color and finish, which means matching exact tones that complement bedding, wall color, or flooring.
Another major advantage is sustainability. Solid wood furniture from decades past was often built better than many modern alternatives. A well-constructed dresser or nightstand with dovetail joints and hardwood construction deserves a second life, not a trip to the landfill. Painting extends its usability while preserving quality craftsmanship.
The project also builds practical skills. Learning to properly prep, prime, and finish furniture translates directly to other DIY work, cabinets, trim, doors, and built-ins all use the same techniques. It’s a low-stakes way to practice before tackling more visible or permanent installations.
Having the right materials on hand before starting prevents mid-project trips to the hardware store. Here’s what to gather:
Materials:
Tools:
If the furniture has intricate carvings or spindles, a small foam brush or detail brush helps reach tight spots. For larger projects like a full dresser, an HVLP paint sprayer can deliver a factory-smooth finish, though it requires more setup and cleanup than brushes or rollers.
Surface prep determines whether paint adheres for years or starts peeling within months. Most furniture failures happen here, not during painting.
Step 1: Remove hardware and drawers. Take off knobs, pulls, drawer slides, and any removable components. Label drawer fronts with painter’s tape if they’re not interchangeable, many older dressers have drawers cut to fit specific openings.
Step 2: Clean thoroughly. Use a deglosser or a solution of TSP mixed per label instructions to strip away oils, wax, and grime. Even new furniture can have factory residue. Wipe down all surfaces and let them dry completely, at least 30 minutes in low humidity.
Step 3: Sand for adhesion. The goal isn’t to strip the finish entirely, just to rough up the surface so primer can grab. Use 120-grit sandpaper on flat areas and 220-grit on curves or details. Sand in the direction of the grain on wood furniture. For laminate or previously painted pieces, scuff the surface evenly without gouging through to substrate.
Step 4: Fill imperfections. Use wood filler for gouges, dents, or scratches. Apply with a putty knife, let it cure per manufacturer instructions (usually 1–2 hours), then sand smooth with 220-grit paper.
Step 5: Wipe with a tack cloth. Dust left on the surface will create a gritty finish. A tack cloth picks up fine particles that a regular rag misses. Go over every surface, including edges and undersides of drawer fronts.
Work in a well-ventilated area or garage. If painting indoors, open windows and use a box fan to exhaust fumes. Avoid painting in direct sunlight or temperatures below 50°F, both affect drying and leveling.
Primer isn’t optional. It blocks stains, evens out porosity, and gives paint something to bond to. For bare wood, especially oak or pine, use a shellac-based primer like BIN to seal tannins that can bleed through latex paint. For laminate or melamine furniture, a bonding primer (often labeled for slick surfaces) is necessary, standard primers won’t stick.
Apply primer in thin, even coats. One coat is usually sufficient on raw wood: two coats may be needed on dark finishes or stained pieces. Let primer dry fully before sanding lightly with 320-grit paper to smooth any raised grain or brush marks.
Paint selection depends on durability needs:
Latex (water-based) paint: Easier cleanup, low odor, fast drying. Use a satin or semi-gloss sheen for bedroom furniture, it’s durable enough to wipe clean but not as reflective as high-gloss. Brands marketed as “cabinet and trim” paint have better leveling and hardness than standard wall paint.
Oil-based (alkyd) paint: Slower drying (12–24 hours between coats), stronger odor, and requires mineral spirits for cleanup. But, it levels beautifully and cures to a rock-hard finish. Best for high-use pieces like dressers or nightstands.
Chalk paint: Popular for distressed or matte finishes, but it’s softer and requires a topcoat for protection. Not ideal for surfaces that see heavy contact unless sealed with wax or poly.
One quart typically covers 100–125 square feet, which is more than enough for a nightstand or small dresser. A full bedroom set (dresser, two nightstands, and a bed frame) may require a gallon.
1. Stir paint thoroughly. Don’t shake, it introduces bubbles. Stir for at least two minutes, scraping the bottom and sides of the can.
2. Apply the first coat. Use a foam roller for flat surfaces and an angled brush for edges, grooves, and details. Roll or brush in long, even strokes, maintaining a wet edge to avoid lap marks. Don’t overload the roller, excess paint causes drips and uneven texture.
3. Work in sections. For a dresser, paint drawer fronts separately from the body. Start with the interior edges, then move to faces. This keeps wet paint from being disturbed.
4. Let the first coat dry completely. Follow the paint can’s recoat time, usually 2–4 hours for latex, longer for oil-based. Don’t rush this. Painting over tacky paint will pull it up and create a mess.
5. Sand between coats. Use 320-grit sandpaper or a fine sanding sponge to lightly scuff the surface. This knocks down any dust nibs or brush marks and helps the next coat adhere. Wipe with a tack cloth afterward.
6. Apply a second coat. Two coats are standard for full coverage. Dark colors or bold hues may need a third. Keep each coat thin, multiple thin coats outlast one thick coat.
7. Inspect for drips and imperfections. Check edges and undersides while the paint is still wet. A small brush can smooth out runs before they dry.
If using a paint sprayer, practice on cardboard first. Keep the nozzle 10–12 inches from the surface and move in steady, overlapping passes. Sprayers use more paint but deliver the smoothest finish with no brush marks.
Paint alone isn’t tough enough for bedroom furniture. Drawers slide, objects get dragged across surfaces, and spills happen. A topcoat adds a protective layer that prevents chipping and makes cleaning easier.
Options for topcoats:
Water-based polycrylic: Clear, non-yellowing, and easy to apply. Dries quickly (1–2 hours) and doesn’t add odor. Use satin or semi-gloss for a subtle sheen. Apply with a synthetic brush in thin coats, at least two, ideally three. Sand lightly with 320-grit between coats.
Oil-based polyurethane: More durable than polycrylic, but yellows over time, especially over white or light colors. Better suited for darker furniture. Needs 4–6 hours between coats and good ventilation.
Wax: Provides a soft, low-sheen finish and can be buffed for a hand-rubbed look. Less durable than poly, requiring reapplication every few months. Best for decorative pieces, not high-traffic surfaces.
Let the final topcoat cure for 72 hours before reassembling hardware or placing objects on the furniture. Full cure, when the finish reaches maximum hardness, can take up to 30 days depending on humidity and temperature. Avoid stacking items or using drawers heavily during the first week.
Reattach hardware once everything is dry. If the original knobs or pulls don’t match the new look, swapping them out is an easy upgrade that costs $3–$10 per piece.
Painting bedroom furniture is a manageable weekend project that delivers high visual impact for minimal cost. The key is patience, don’t skip surface prep, and don’t rush drying times. With the right primer, quality paint, and a durable topcoat, a painted finish can outlast the furniture’s original factory finish. Whether refreshing a hand-me-down dresser or updating a thrifted nightstand, this process gives any piece a custom look that holds up to daily use.