Phone:
(701)814-6992
Physical address:
6296 Donnelly Plaza
Ratkeville, Bahamas.
Phone:
(701)814-6992
Physical address:
6296 Donnelly Plaza
Ratkeville, Bahamas.
Yes, you can absolutely paint a refrigerator, and with the right prep and materials, it’ll look factory-fresh for years. Painting a refrigerator is a budget-friendly way to match outdated appliances to a new kitchen palette, rescue a perfectly functional fridge with cosmetic damage, or experiment with bold color without the sticker shock of replacement. This isn’t a weekend whim project, though. Success hinges on surface prep, paint selection, and patience between coats. Done right, a painted refrigerator can cost under $50 in materials and save hundreds compared to buying new. This guide walks through everything needed to tackle the job with confidence.
The average refrigerator replacement runs $800 to $2,500, depending on size and features. If the appliance still runs efficiently but clashes with a kitchen refresh, painting offers a practical alternative at a fraction of the cost.
Many homeowners paint fridges to unify mismatched appliances, think a white fridge in a stainless or black kitchen. Others use it to salvage units with surface rust, dents, or scratched finishes that don’t justify tossing a mechanically sound appliance. Rental property owners often paint to refresh units between tenants without capital expenditure.
Painting also allows creative freedom. Bold colors like navy, charcoal, or even chalkboard finishes turn a utilitarian appliance into a design statement. Since most quality appliance paints cure hard and resist chipping, the result can rival factory coatings if applied correctly.
There’s an environmental angle, too. Appliances contribute significant landfill waste, and refrigerators contain refrigerants that require proper disposal. Extending the life of a working unit reduces waste and avoids the carbon footprint of manufacturing and shipping a replacement.
That said, painting won’t fix mechanical issues, deep dents, or failing seals. If the compressor is struggling or energy bills are climbing, replacement may be the smarter long-term investment.
Not all surfaces or scenarios are paint-friendly. Modern refrigerators typically have powder-coated steel, porcelain enamel, or textured plastic exteriors. Steel and enamel take paint well: heavily textured plastic can be trickier and may require specialty adhesion primers.
Inspect the fridge for grease buildup, rust spots, and existing finish condition. Grease kills paint adhesion, and rust will bleed through unless treated with a rust-inhibiting primer. If the surface is peeling or flaking, those areas need sanding down to bare metal or stable paint.
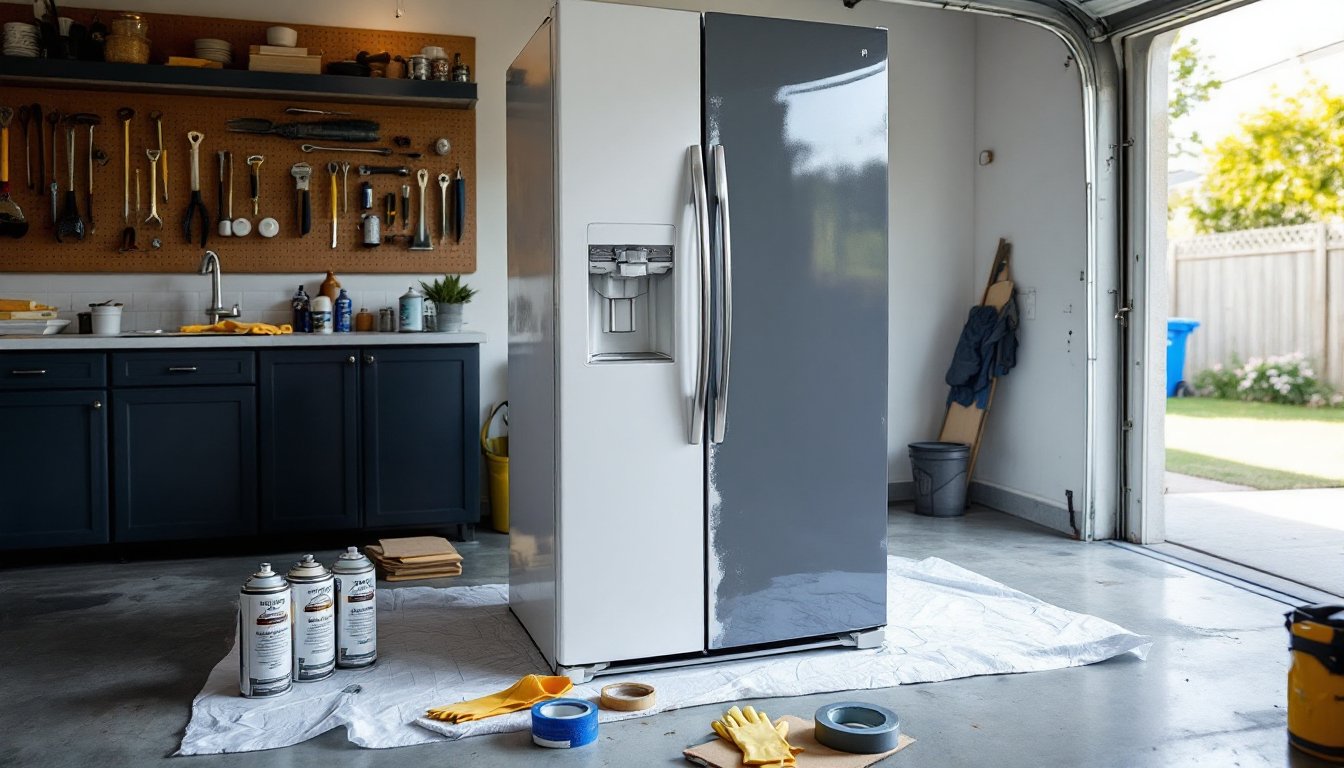
Safety and workspace matter. Unplug the refrigerator and move it to a well-ventilated area, garage or outdoor space is ideal. If painting indoors, open windows and use a fan. Many appliance paints and primers release VOCs during application and curing.
Check the weather if working outside. Ideal conditions are 50–85°F with low humidity. Painting in direct sun or high heat can cause paint to dry too fast, leading to poor leveling and brush marks. Freezing temps will ruin adhesion.
Plan for downtime. The fridge needs to stay unplugged for 24–48 hours minimum (longer with certain paints). If food spoilage is a concern, borrow a neighbor’s fridge space or use coolers with ice.
Appliance epoxy paint is the gold standard. Brands like Rust-Oleum Specialty Appliance Epoxy cure to a hard, chip-resistant finish that mimics factory coatings. It’s available in aerosol and brush-on formulas. Aerosol is faster and provides the smoothest finish, but brush-on offers better control and less overspray.
Acrylic enamel formulated for metal works well if appliance epoxy isn’t available. Look for high-adhesion varieties labeled for smooth, non-porous surfaces. Standard wall paint won’t hold up to the repeated handling and temperature shifts a fridge endures.
Primers are non-negotiable. Use a bonding primer designed for slick surfaces, Zinsser Bulls Eye 1-2-3 or Kilz Adhesion are reliable choices. If rust is present, use a rust-converting primer like Rust-Oleum Rusty Metal Primer to seal and stabilize.
Chalkboard or magnetic paint can be layered over appliance epoxy for functional finishes, but they require additional coats and cure time. Magnetic paint, in particular, needs multiple coats to hold magnets effectively.
Coverage varies by product, but most aerosol cans cover 10–12 square feet. A standard full-size refrigerator (about 65–70 square feet of exterior surface) typically requires 3–4 cans of primer and 4–6 cans of topcoat, depending on color and coverage.
Gather materials before starting. Rushing mid-project to buy more primer is how mistakes happen.
Materials:
Prep determines whether paint lasts two months or two years. Don’t skip steps.
Unplug and empty the fridge. Remove shelves, drawers, and handles if possible. Handles can be painted separately or masked off.
Clean thoroughly. Wipe down all exterior surfaces with a degreaser. Kitchen grime, fingerprint oils, and cooking residue are invisible but will cause paint failure. Rinse with clean water and let dry completely.
Sand the surface. Use 220-grit sandpaper to scuff the entire exterior. This isn’t about removing the finish, just creating tooth for the primer. Wipe away dust with a damp cloth and let dry.
Treat rust spots. If rust is present, sand down to bare metal or stable paint, then apply rust-converting primer. Let cure per manufacturer instructions (usually 1–2 hours).
Mask off areas. Use painter’s tape to protect gaskets, vents, logos (if keeping them), and any trim or plastic parts that won’t be painted. Press tape edges firmly to prevent bleed.
Prime the surface. Apply a thin, even coat of bonding primer. If using aerosol, hold the can 8–10 inches from the surface and use steady, overlapping passes. Avoid heavy coats that drip or sag. Let dry 2–4 hours (check product label). A second primer coat improves adhesion and coverage, especially over dark or stained surfaces.
Apply the first coat. Shake aerosol cans for 1–2 minutes. Using the same technique as priming, apply a light, even coat of appliance epoxy. Don’t try to cover completely in one pass, thin coats prevent drips and level better.
Wait between coats. Most appliance paints dry to the touch in 30–60 minutes but need 2–4 hours between recoats. Rushing this causes wrinkling and poor adhesion. Check the product label for recoat windows, some paints must be recoated within a specific timeframe or require extended cure before the next layer.
Build coverage gradually. Two to three thin topcoats typically provide full, even color. Inspect for missed spots, drips, or texture after each coat. Light sanding with 320-grit sandpaper between topcoats (optional) can improve smoothness, but wipe dust thoroughly before the next coat.
Allow full cure time. Paint may feel dry in a few hours, but full cure takes 24–72 hours depending on the product. Avoid touching, moving, or plugging in the fridge during this period. Some epoxy paints continue hardening for up to a week.
Reinstall hardware. Once fully cured, remove painter’s tape slowly at a 45-degree angle to avoid pulling up paint edges. Reattach handles, shelves, and drawers. Plug in and allow the fridge to cool for several hours before loading food.
With proper prep and quality paint, a painted refrigerator can last 3–5 years or more before showing wear. High-traffic areas like handles and edges may chip first, especially in busy kitchens.
Durability depends on paint type, surface prep, and use. Appliance epoxy outperforms standard enamel significantly. Skipping primer or rushing cure time cuts lifespan in half. Fridges in rental properties or households with kids may see faster wear from repeated impacts and handling.
Maintenance extends longevity. Clean painted surfaces with mild soap and water, avoid abrasive cleaners or scouring pads that scratch the finish. Touch up chips promptly with leftover paint to prevent rust and further damage.
If the finish starts wearing thin after a few years, the fridge can be lightly sanded and repainted. Since the initial primer and base coats are already there, refreshing the topcoat is faster than the original job.
Eventually, how to paint a refrigerator comes down to patience and prep. It won’t outlast a factory finish forever, but it’s a cost-effective, creative way to breathe new life into a functional appliance without the expense and waste of replacement.