Phone:
(701)814-6992
Physical address:
6296 Donnelly Plaza
Ratkeville, Bahamas.
Phone:
(701)814-6992
Physical address:
6296 Donnelly Plaza
Ratkeville, Bahamas.
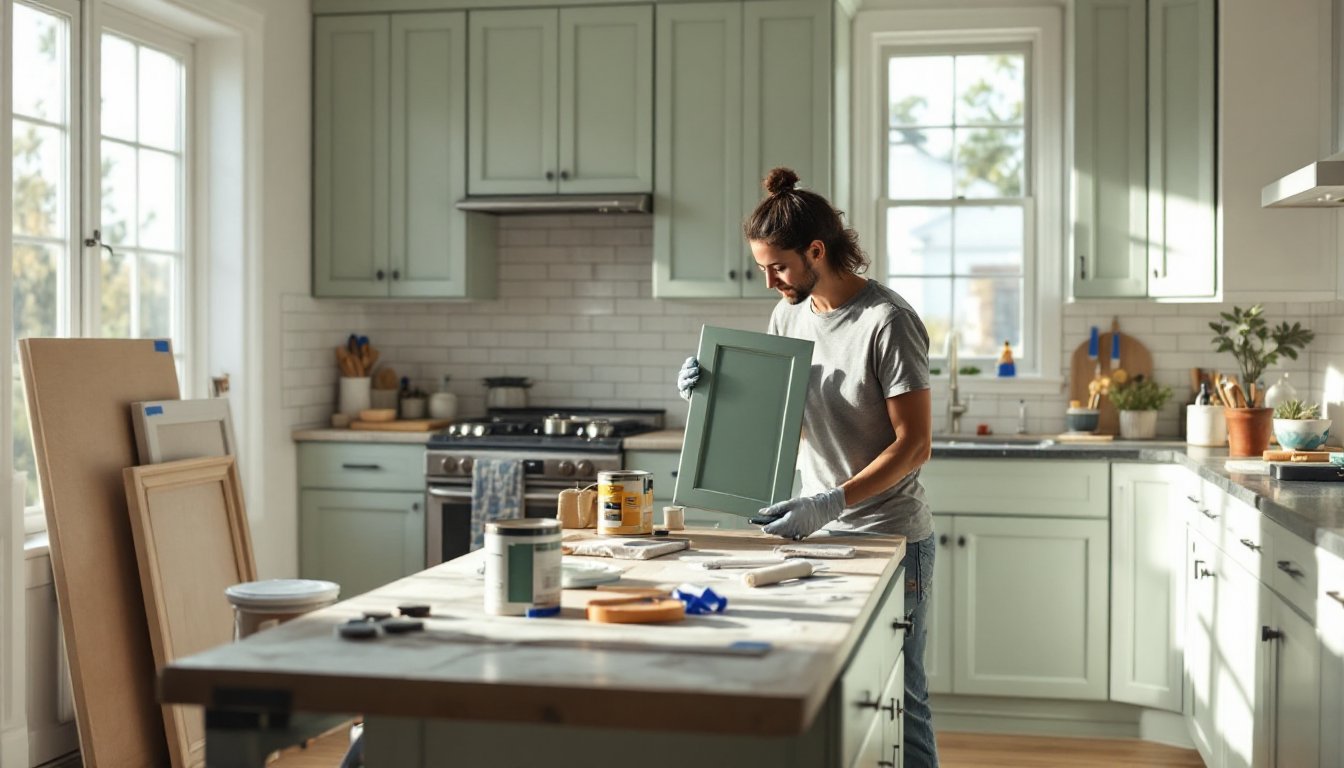
Replacing kitchen cabinets can drain $8,000 to $20,000 from a renovation budget before anyone even touches the counters or floors. Painting existing cabinets delivers a dramatic visual refresh for a fraction of that cost, often under $300 in materials if a homeowner tackles it themselves. The catch? Success depends on choosing the right paint, prepping surfaces properly, and understanding which colors work with existing finishes and lighting. A poorly executed cabinet paint job shows every drip and brush stroke, while a methodical approach creates a factory-finish look that lasts for years. This guide walks through color selection, paint types, application techniques, and maintenance to help DIYers transform their kitchens without the contractor invoice.
Cabinet replacement accounts for roughly 40-50% of a typical kitchen remodel budget. Painting shifts that equation dramatically. A standard 10×12-foot kitchen with 20 linear feet of cabinetry might cost $12,000+ to reface or replace, but painting the same setup runs $200-$600 in materials for a DIY job, or $2,500-$6,000 if hiring professionals.
Beyond cost, paint offers unmatched flexibility. Homeowners can shift from builder-grade oak to on-trend sage green, navy, or crisp white without tearing out functional storage. The project also sidesteps the permitting, plumbing disconnects, and kitchen downtime that come with full replacements. Most DIYers can paint cabinets over a long weekend if they work methodically, removing doors Friday evening, priming Saturday, and applying finish coats Sunday.
That said, painting won’t fix structural issues. Cabinets with water damage, sagging shelves, or broken drawer boxes need repair or replacement. Paint also won’t change the footprint or layout. But for boxes and doors in solid shape, it’s the fastest way to modernize a kitchen’s look without a demolition permit.
The best color for kitchen cabinets depends on three variables: existing finishes (counters, backsplash, flooring), natural light exposure, and the desired mood. Neutrals like white, gray, and greige remain versatile, reflecting light and pairing with most countertop materials. Bold hues, navy, forest green, charcoal, create contrast but require careful coordination with wall colors and hardware.
Light vs. Dark: White and off-white kitchen cabinet paint colors make small kitchens feel larger and work well in spaces with limited windows. Dark cabinet colors for kitchens anchor large, open-plan layouts but can feel heavy in poorly lit galley setups. Medium tones (sage, taupe, soft blue) split the difference, adding personality without overwhelming square footage.
Undertones matter. A “white” cabinet can skew yellow, blue, or gray depending on the paint formula. Test samples on actual cabinet doors, not just walls, and observe them at different times of day. North-facing kitchens receive cooler light, which can make warm whites look dingy: south-facing spaces handle warmer tones better.
Kitchen color schemes often pair painted uppers with contrasting lowers (white on top, navy below) or reserve color for an island while keeping perimeter cabinets neutral. This two-tone approach lets homeowners experiment with what color to paint kitchen cabinets without committing the entire room to a single hue.
Current trends favor earthy, grounded palettes over the stark whites that dominated the 2010s. Here’s what’s gaining traction:
When deciding what color should I paint my kitchen cabinets, consider longevity. Trendy colors date faster than neutrals. A homeowner planning to sell within three years might lean toward broad-appeal whites or grays, while someone settling in long-term can afford bolder choices.
Not all paints withstand the grease, moisture, and daily wear kitchens dish out. The best color to paint kitchen cabinets starts with choosing the right type of paint.
Oil-based vs. latex/acrylic:
Finish sheen affects both appearance and cleanability:
Primer matters. Cabinets with dark stain, glossy finishes, or grease buildup need a bonding primer (often oil-based or shellac-based like BIN or Cover Stain) to prevent bleed-through and ensure adhesion. Water-based primers work for previously painted surfaces in good condition. Plan on one coat of primer and two finish coats minimum.
Painting kitchen cabinets isn’t complicated, but shortcuts lead to peeling, drips, and uneven coverage. Follow this sequence for professional results.
1. Clear and prep the workspace.
Remove everything from cabinets. Set up a ventilated work area (garage, basement, or covered patio) for painting doors and drawers. Lay down drop cloths to protect floors.
2. Remove doors, drawers, and hardware.
Label each door and drawer with painter’s tape noting its location (e.g., “Upper Left 1”). Remove hinges, pulls, and knobs. Store hardware in labeled bags.
3. Clean all surfaces.
Cabinets accumulate grease and cooking residue. Scrub with a degreaser (TSP substitute or a strong dish soap solution), rinse, and let dry completely. Skipping this step causes paint adhesion failure.
4. Sand and fill imperfections.
Lightly sand all surfaces with 120-grit sandpaper to dull the existing finish and improve primer grip. Fill dents or holes with wood filler, let cure, then sand smooth with 220-grit. Wipe away dust with a tack cloth.
5. Apply primer.
Use a bonding primer for best results. Apply with a 2-inch angled brush for edges and a 4-inch foam roller for flat surfaces. Foam rollers leave fewer texture marks than nap rollers. Let primer dry per manufacturer’s instructions (typically 4-12 hours).
6. Sand primer lightly.
After primer dries, lightly scuff with 220-grit sandpaper to smooth any raised grain or brush marks. Wipe clean.
7. Apply first finish coat.
Stir paint thoroughly, don’t shake, which introduces bubbles. Use the same brush-and-roller technique as primer. Work in long, even strokes, brushing toward the grain on wood doors. Avoid overloading the brush, which causes drips.
8. Sand between coats.
Once the first coat dries (check paint can for recoat time), lightly sand with 220-grit or a fine sanding sponge. This step is critical for a smooth final finish.
9. Apply second (and possibly third) coat.
Two coats usually suffice for light colors over primer. Dark or bold colors may need three. Let final coat cure fully, 72 hours minimum, before reinstalling.
10. Reinstall doors and hardware.
Reattach hinges and hardware once paint has cured. Consider upgrading pulls and knobs for a cohesive updated look.
Safety notes: Wear safety goggles when sanding, a respirator mask (not just a dust mask) when priming or using oil-based paint, and nitrile gloves during cleaning and painting. Ensure adequate ventilation.
Painted cabinets hold up well with basic care. Wipe spills immediately with a damp microfiber cloth, avoid abrasive scrubbers that can scratch the finish. For grease buildup, use a mild dish soap solution, rinse with clean water, and dry promptly.
Avoid harsh cleaners (bleach, ammonia) and excessive moisture. Water sitting on painted wood can cause swelling and paint failure, especially around sinks.
Expect minor touch-ups over time. Keep leftover paint for quick fixes. Light scuffs sand out easily with 320-grit sandpaper: more serious chips may need a spot primer and paint application.
Properly prepped and painted cabinets last 5-10 years before needing a refresh, depending on use and quality of materials. High-traffic households with young kids may see wear sooner: gentle use extends longevity.
Painting kitchen cabinets delivers high-impact transformation without the cost or disruption of replacement. Success hinges on thorough surface prep, quality materials, and patience during the curing process. Whether a homeowner opts for timeless white, bold navy, or earthy sage, the right paint color and application method turn functional storage into a design statement. With proper care, those colored kitchen cabinets will look sharp for years to come.