Phone:
(701)814-6992
Physical address:
6296 Donnelly Plaza
Ratkeville, Bahamas.
Phone:
(701)814-6992
Physical address:
6296 Donnelly Plaza
Ratkeville, Bahamas.
Cabinet painting ranks among the highest-impact, lowest-cost kitchen upgrades a homeowner can tackle. For a fraction of what cabinet replacement costs, a careful paint job delivers a complete visual reset, but only if the prep work and technique are sound. This isn’t a slap-on-primer-and-hope project. Success depends on degreasing, sanding, proper priming, and using the right paint for the job. Most kitchens can be completed in a long weekend if the steps are followed methodically. This guide walks through the process from start to finish, covering the tools, materials, prep stages, application techniques, and common pitfalls that turn an otherwise straightforward project into a peeling, streaky mess.
Full cabinet replacement typically runs between $8,000 and $25,000 depending on materials, labor, and regional pricing. Painting the same cabinets costs $200 to $600 in materials if doing it yourself, or $1,500 to $4,000 if hiring a professional. That’s a cost difference of 80–90% for a result that can look equally fresh.
Painting works best when the cabinet boxes and frames are structurally sound. If hinges are solid, doors close properly, and there’s no water damage or delaminating veneer, paint will hold up for years. It won’t fix sagging shelves, broken drawer glides, or outdated layouts, but it will modernize the look without the expense and disruption of a full tear-out.
The process also generates far less waste. Instead of hauling old cabinets to the landfill, the existing boxes stay in place. For homeowners working within a budget or planning to sell within a few years, painting offers serious return on investment. Real estate agents consistently cite fresh paint, especially in kitchens, as one of the simplest ways to increase buyer appeal and perceived home value.
Gather everything before starting. Missing a tool mid-project leads to delays and uneven drying.
Materials:
Tools:
A paint sprayer produces the smoothest finish but requires more setup, masking, and cleanup. Most DIYers get professional-looking results with a foam roller and careful brushwork.
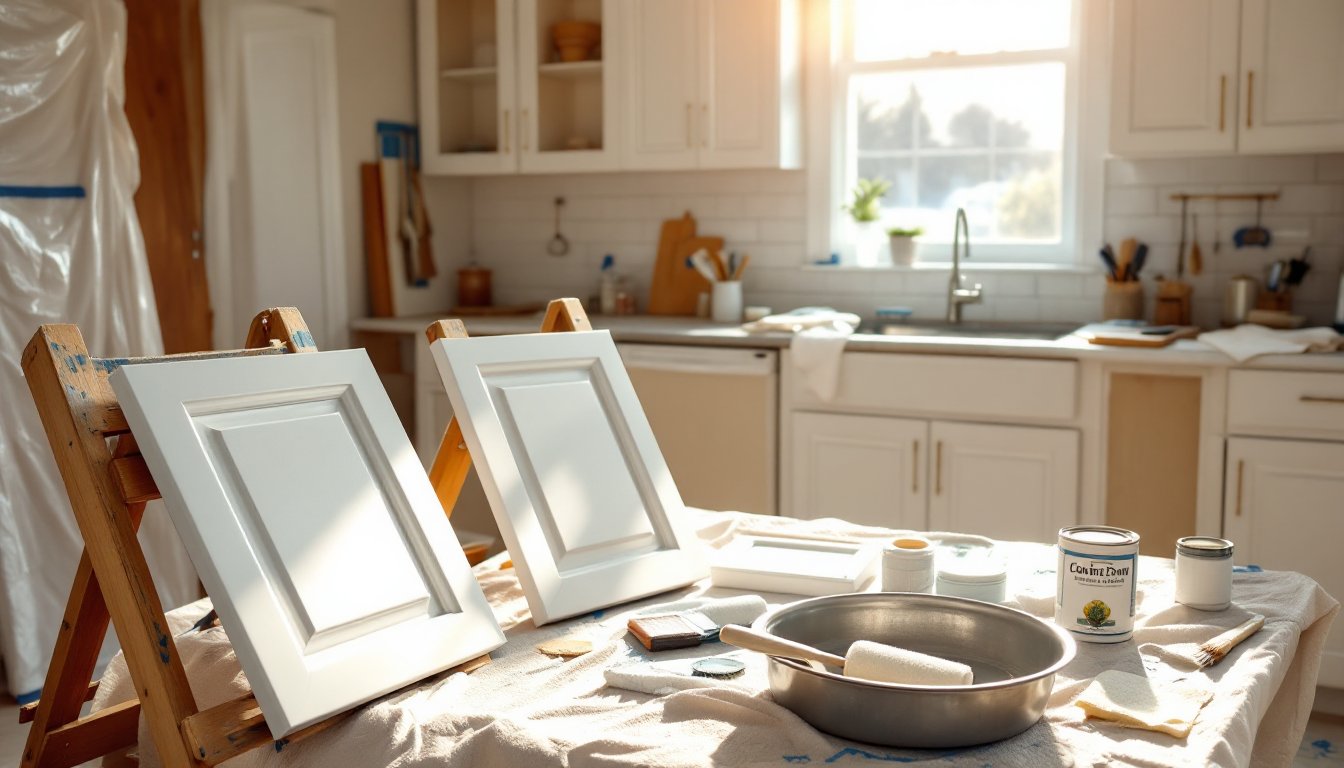
Remove all doors, drawers, and hardware. Label each door with painter’s tape on the back noting its location (upper left, lower right, etc.). Hinges can go in a labeled bag. This step prevents mismatched reinstallation later.
Clean every surface thoroughly. Years of cooking leaves a grease film that blocks paint adhesion. Spray degreaser on all cabinet faces, doors, and drawer fronts. Scrub with a non-scratch sponge or microfiber cloth, then wipe down with clean water. Let everything dry completely, at least two hours, longer in humid climates.
Fill imperfections. Use wood filler on any dents, scratches, or old hardware holes that won’t be reused. Let it cure per the manufacturer’s instructions (usually 30 minutes to an hour), then sand flush with 120-grit sandpaper.
Sand all surfaces. This is non-negotiable. Even previously painted cabinets need a light scuff to give the new primer tooth. Use 120-grit sandpaper on flat surfaces and a sanding sponge for profiles or routed edges. The goal isn’t to strip the finish, just to dull the sheen. Wipe away all dust with a tack cloth or a damp microfiber rag, then let dry.
Mask off areas you’re not painting. Use painter’s tape on walls, countertops, and cabinet interiors if you’re only painting the exterior. Lay down drop cloths. Dust from sanding can travel farther than expected, so a thorough vacuum and wipe-down of the work area helps.
Prime everything first. Primer blocks stains, evens out color, and gives paint something to grip. For bare wood or stained cabinets, use a shellac-based primer like BIN or an oil-based primer to prevent tannin bleed-through. For previously painted surfaces in good condition, a high-quality bonding primer works fine. Apply primer with a foam roller in long, even strokes. Use an angled brush for edges, corners, and any routed details. Let the primer dry per the label, typically 1–2 hours for water-based, 4–6 hours for oil-based.
Sand between coats. Once the primer is fully dry, lightly sand with 220-grit sandpaper. This knocks down any roller texture or brush marks. Wipe clean with a tack cloth.
Apply the first coat of paint. Use the same roller-and-brush technique. Load the roller lightly to avoid drips, multiple thin coats beat one heavy coat every time. Work in the direction of the wood grain where visible. For raised-panel doors, paint the panel insets first, then the rails (horizontal pieces), then the stiles (vertical pieces). This minimizes visible brush overlap.
Let the first coat dry fully. Most acrylic enamels dry to the touch in 1–2 hours but need 4–6 hours before recoating. Alkyd (oil-modified) enamels take longer, often 8–12 hours. Don’t rush this. Humid or cold conditions extend dry time.
Sand lightly and apply a second coat. Another pass with 220-grit sandpaper smooths any imperfections. Wipe clean, then apply the second coat using the same method. Two coats are standard: three may be needed for dramatic color changes (dark to light) or high-traffic kitchens.
Cure time matters. Paint may feel dry, but full cure takes 7–14 days for water-based enamels and up to 30 days for oil-based. Handle doors gently during reinstallation and avoid slamming or heavy use for at least a week.
Skipping the degreasing step. Grease is invisible once dry, but it’s there. Paint won’t stick, and the finish will peel within months. Always degrease, even if cabinets look clean.
Using the wrong primer. Applying a water-based primer over raw oak or stained wood lets tannins bleed through, leaving yellow or brown spots. Use shellac-based or oil-based primer on bare or stained wood.
Painting in high humidity or cold temperatures. Paint needs 50–85°F and low humidity to cure properly. If the garage or workspace is too cold, paint will stay tacky and attract dust. If it’s too humid, drying slows and the finish can blister.
Overloading the brush or roller. Thick coats sag, drip, and take forever to dry. Always apply thin, even layers. It’s slower but produces a factory-like finish.
Reinstalling hardware too soon. Even if paint feels dry after a day, the surface hasn’t fully hardened. Screwing in hinges or knobs can leave marks, fingerprints, or dents. Wait at least 72 hours before reattaching hardware and a full week before normal cabinet use.
Not labeling doors. Cabinet openings aren’t always perfectly square, and doors rarely swap interchangeably. Label every door and reinstall it in its original spot to avoid gaps or misalignment.
Ignoring ventilation. Whether using oil-based primers or spray equipment, adequate airflow is critical. Open windows, use fans, and wear a respirator with organic vapor cartridges, not just a dust mask, when working with solvent-based products.
Painting kitchen cabinets delivers professional-looking results when prep work isn’t rushed and the right materials are used. The process is straightforward but unforgiving of shortcuts, skipping degreasing, sanding, or cure time almost always leads to problems down the line. With patience, proper ventilation, and attention to technique, most DIYers can achieve a durable, smooth finish that holds up to daily use and transforms the kitchen for a fraction of replacement cost.